How the automatic watering kit works
A small pump sits in a bucket or tank of water. At the times you set in the app, it pushes water through thin tubing to a dripper in each pot, then stops. You can also water now from the app, or pause the schedule for rain. Set-up takes about 20 minutes and needs no tools.
Set it up in 5 steps
- 01
Fill a tank
Fill any bucket or tank with water and place the pump inside.
- 02
Lay the tubing
Run the tubing from the pump towards the pots and cut it to length.
- 03
Fit the drippers
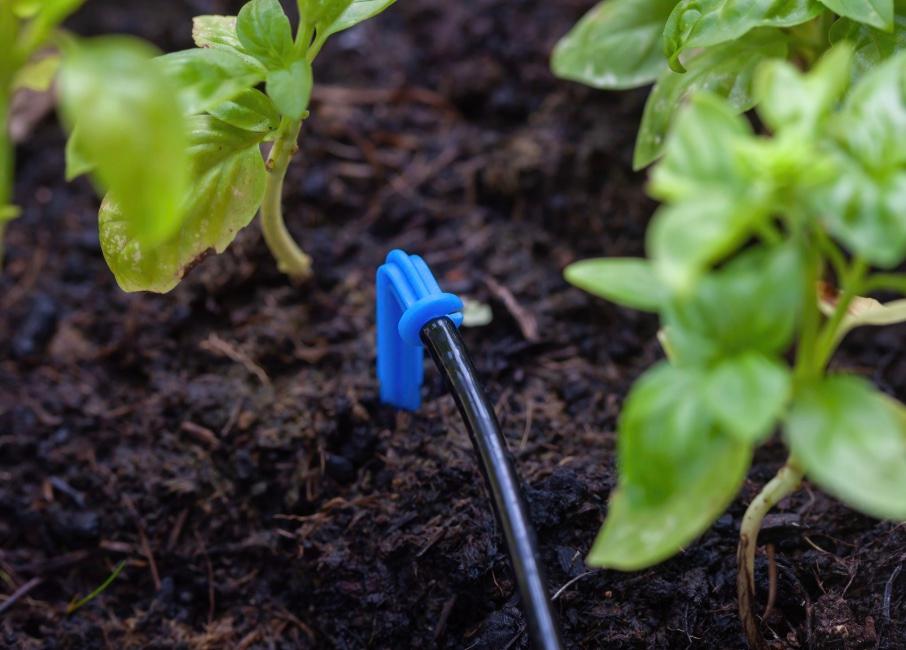
Push a dripper stake into the soil of each pot and connect it to the tubing.
- 04
Connect the app
Power the controller by USB and add it to the app on your home 2.4 GHz WiFi.
- 05
Set the schedule
Choose the days, the start time and how long it runs, then run it once on manual to check every dripper.
What does each part do?
| Part | What it does |
|---|---|
| Pump controller | Sits in the tank, runs on the schedule, connects to WiFi |
| Tubing | Carries water from the pump to each pot |
| Drippers | One per pot; each releases water at the soil |
| App | Sets days, times and duration; water now; delay |
Why a tank instead of a tap?
Most pots in a flat are nowhere near a tap. A tank can sit anywhere, so the kit works in a living room, a bedroom or a closed balcony. For terraces with a tap, the tap-fed drip kit is simpler.
Questions
- Do I need a plumber?
- No. Nothing connects to the water supply.
- Does it work on 5 GHz WiFi?
- No. It needs a 2.4 GHz network, which almost every home router provides.